

In this short guide, we’ll highlight the Profiles feature on Triage. Profiles allow configuration of the VMs used to analyse submitted files/URLs, overriding the defaults Triage will use if the selection is left on Automatic.
Profiles are only available to accounts which have a confirmed Researcher license. You can request a Researcher license free in your Profile settings - just fill out the extra information fields and we will review your application and get back to you as soon as possible.
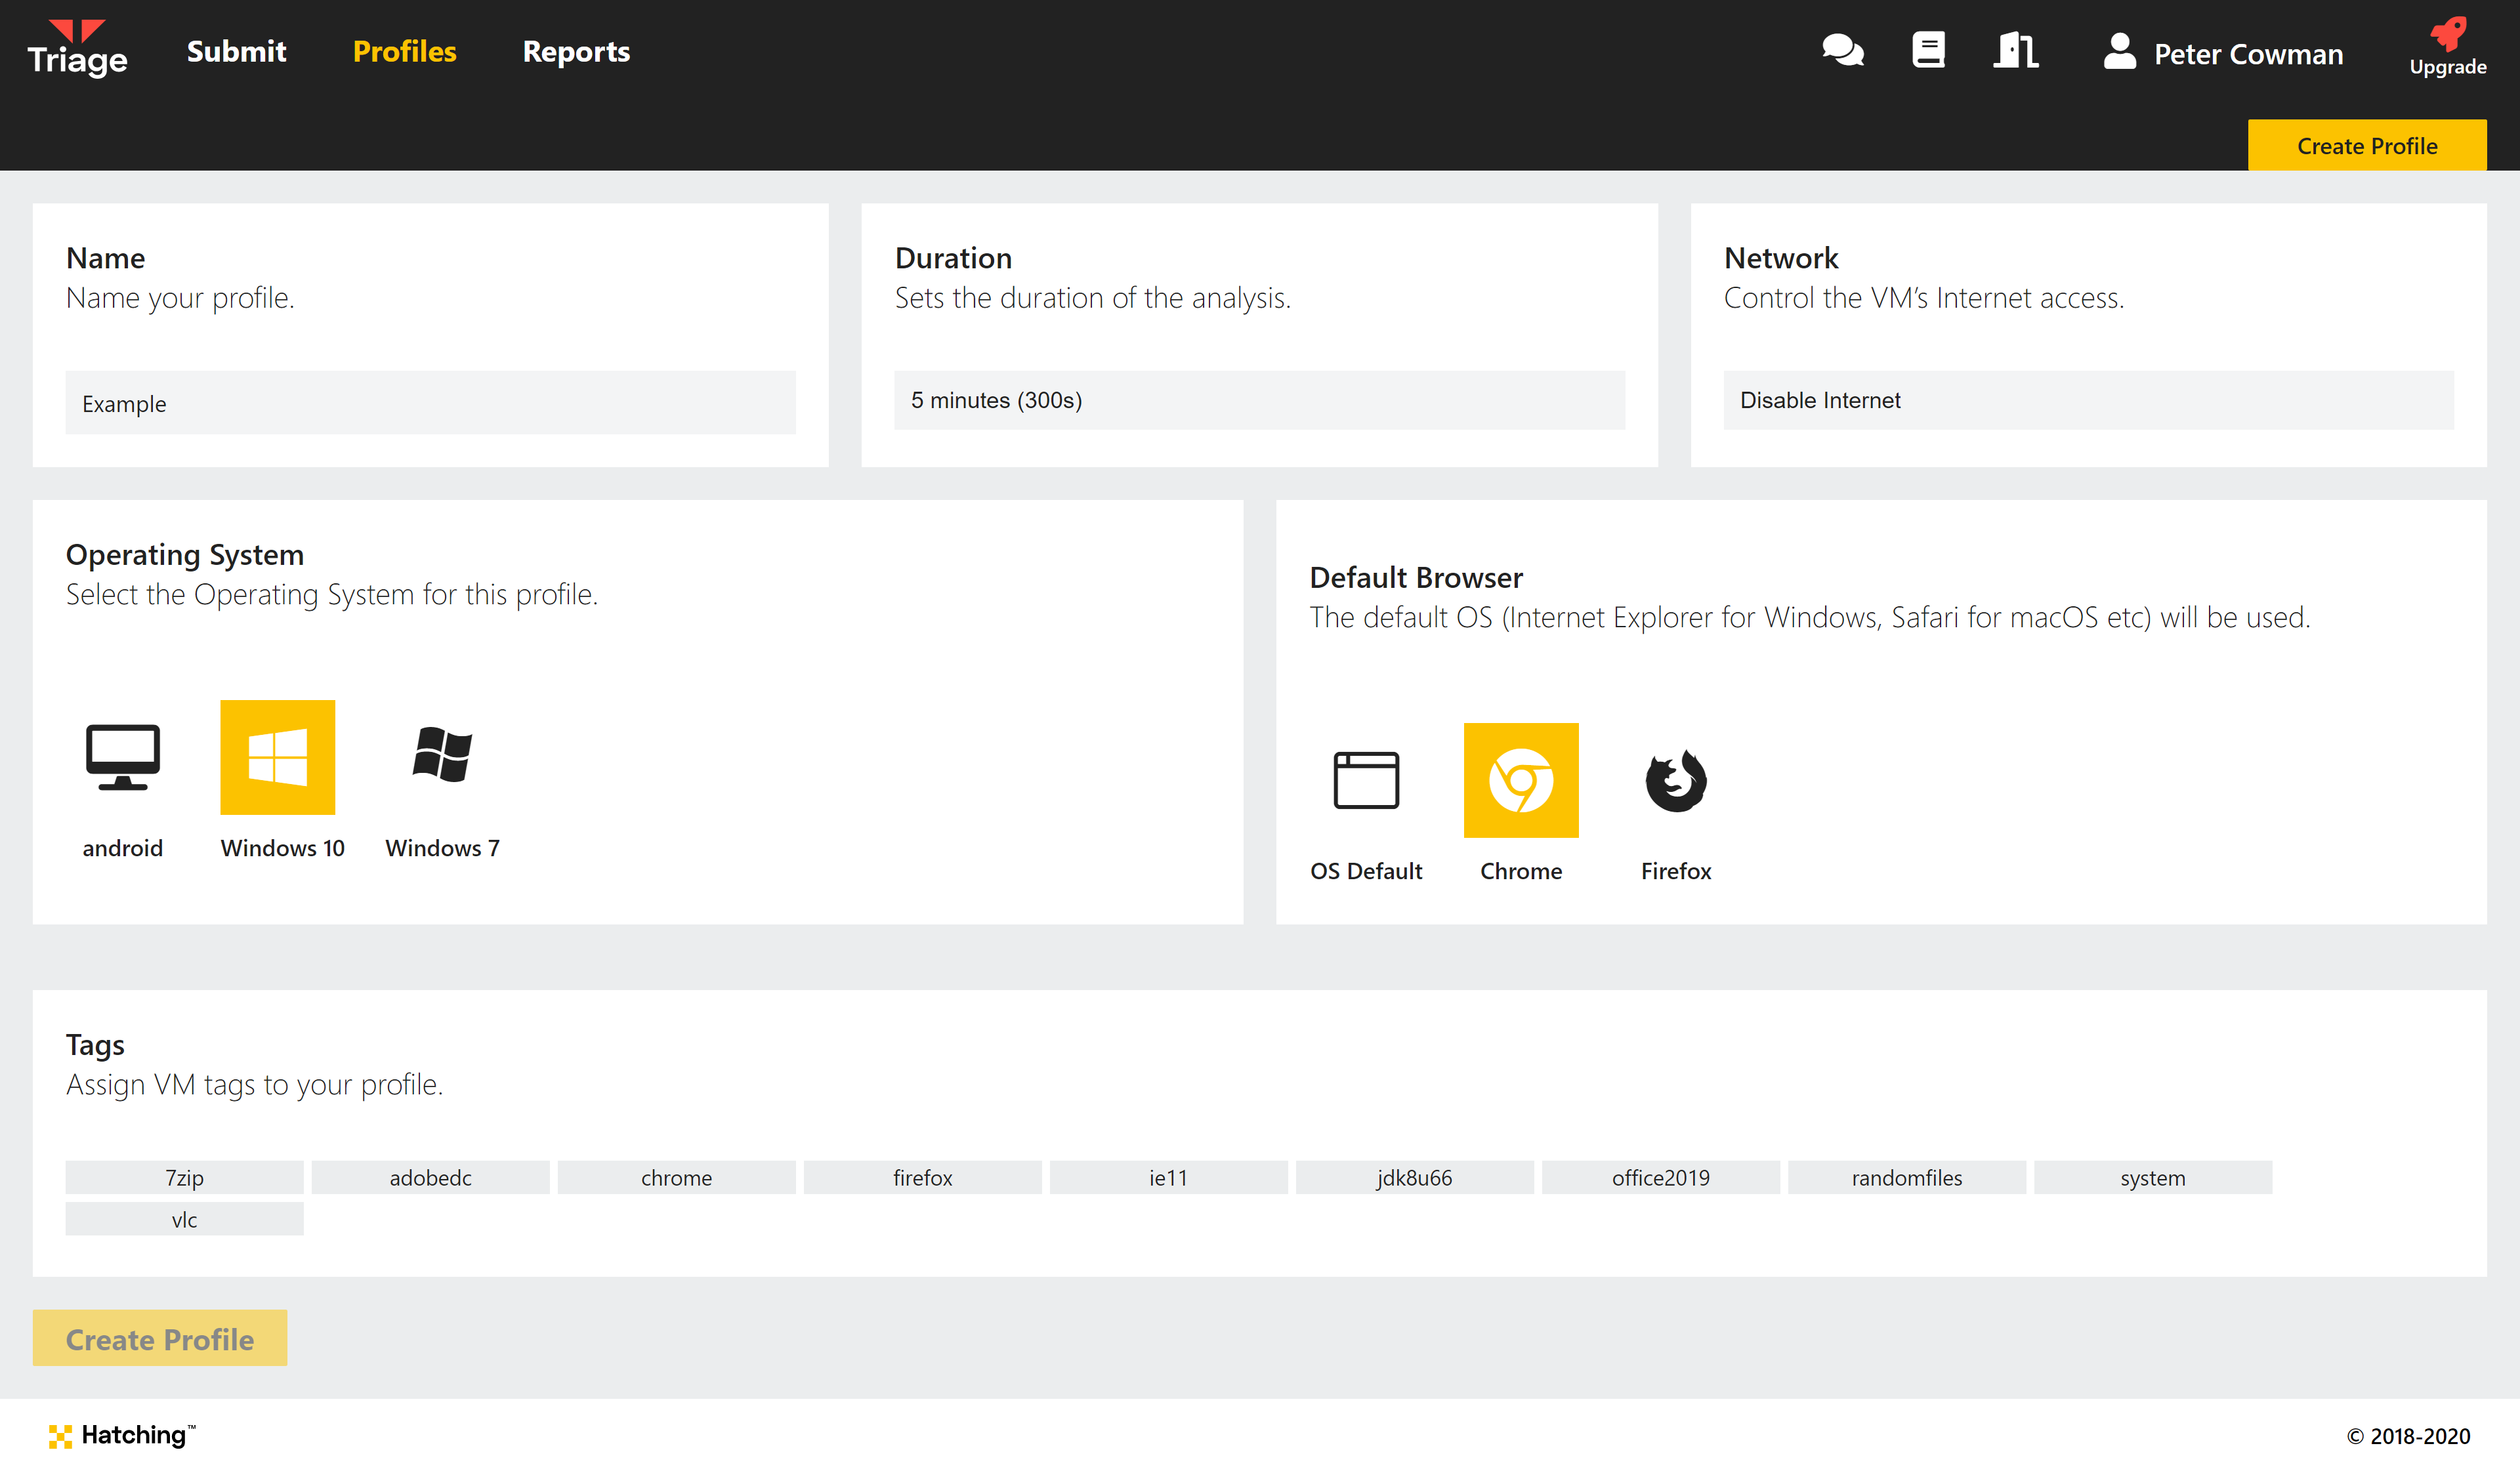
Profile Settings
Profiles can be selected for an analysis when submitting any kind of sample. If not manually defined, by default Triage will automatically choose suitable VMs for the filetype with a generic OS installation. Using Profiles you can override this to manually configure:
- Analysis duration
- Internet access
- Operating system
- Default browser (affects any links opened)
Analysis Duration
Every analysis on Triage has a timeout value which it cannot exceed. When this value is hit, the VM is shut down and report generation begins. The default value is 2 minutes 30 seconds, but using Profiles this can be changed to values from 30 seconds up to the maximum of 30 minutes.
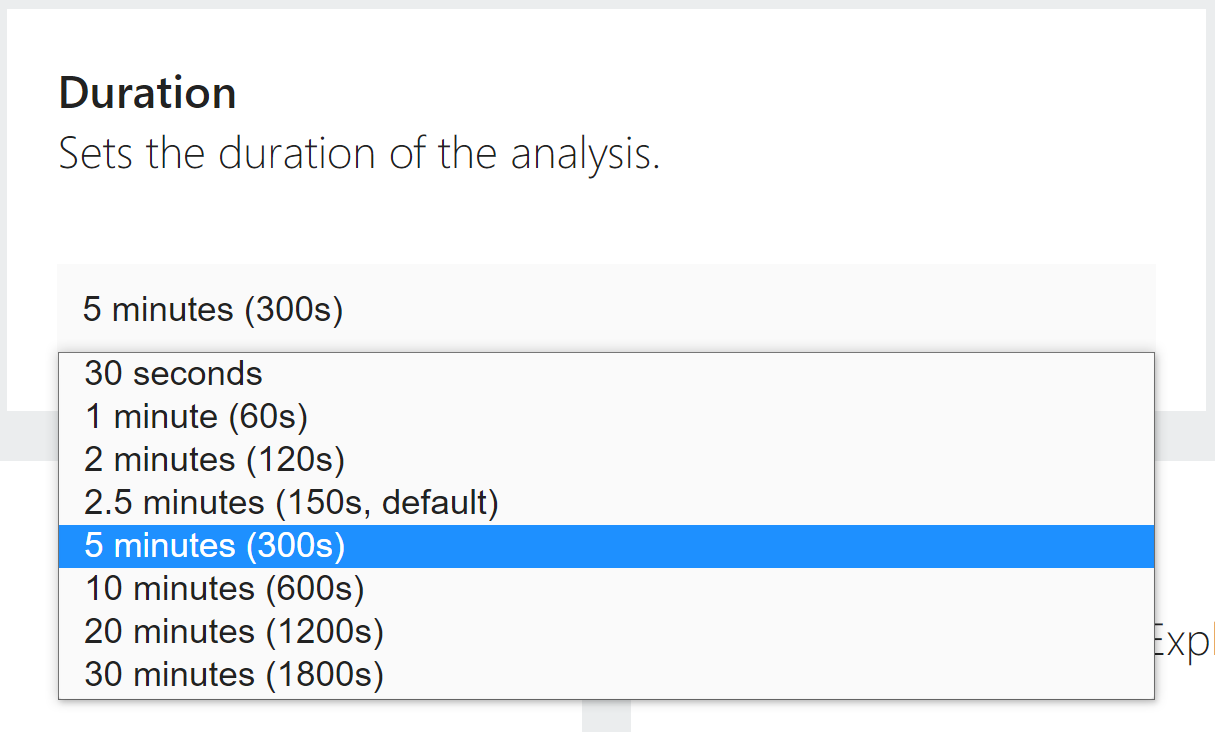
Note that if the host OS is shut down before this timeout the analysis will end early.
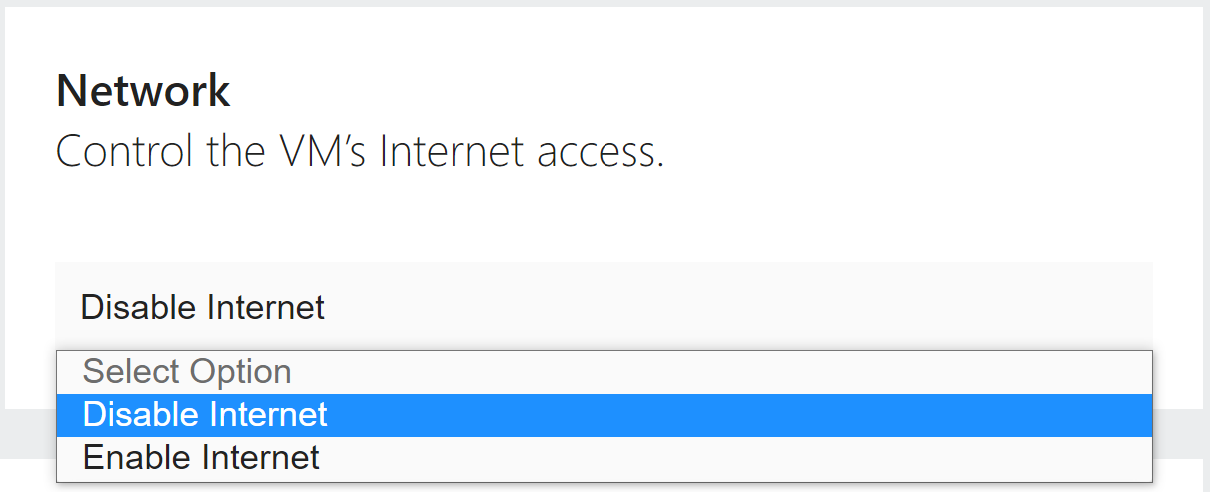
Internet Access
Network configuration options are currently minimal - this is an area we plan to expand in future. For now, you can choose whether or not the VM has an internet connection.
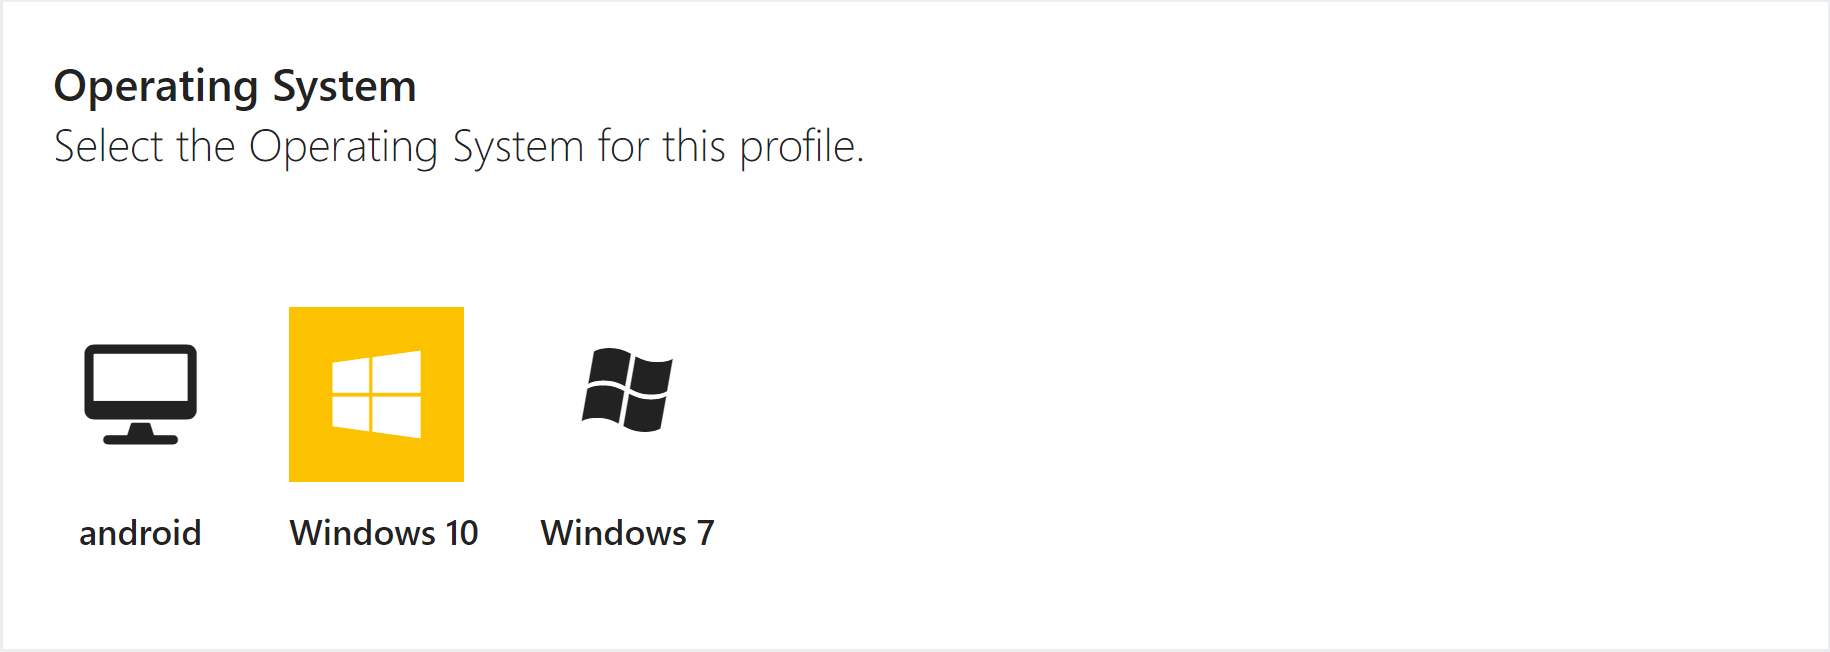
Operating System
Instead of relying on Triage to detect the file type and choose a relevant OS, you can manually define this setting using a Profile. Current options are Windows 7, Windows 10 and Android (SDK version 29 as of August 2020).
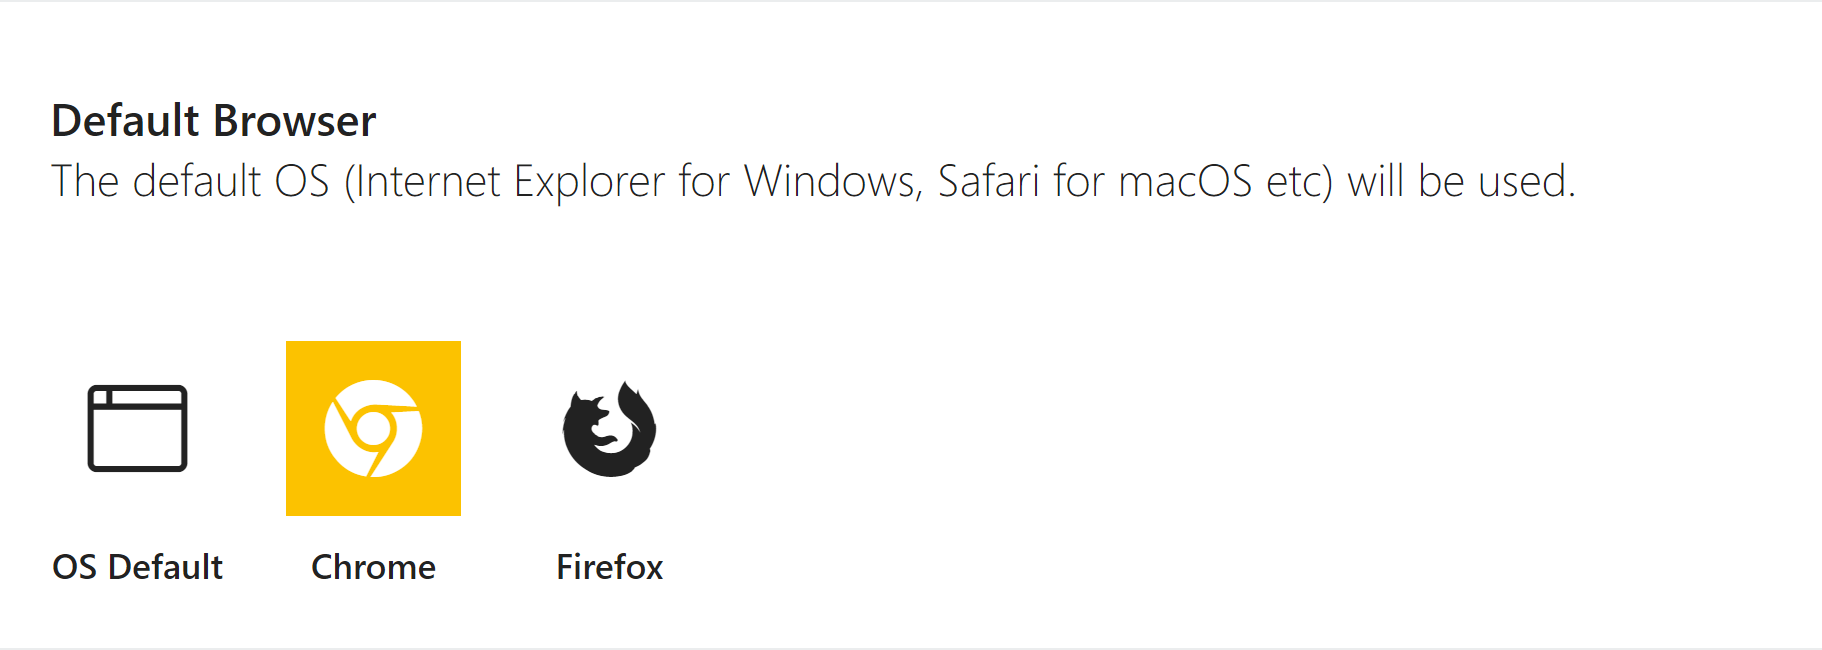
Default Browser
When you submit a URL to Triage, or a sample opens one without defining the browser, the default browser as configured in the OS will handle the request. Profiles allow you to modify this behaviour by defining a different default for the VM.
Current options are:
- OS Default (Internet Explorer 11 on Windows)
- Mozilla Firefox
- Google Chrome
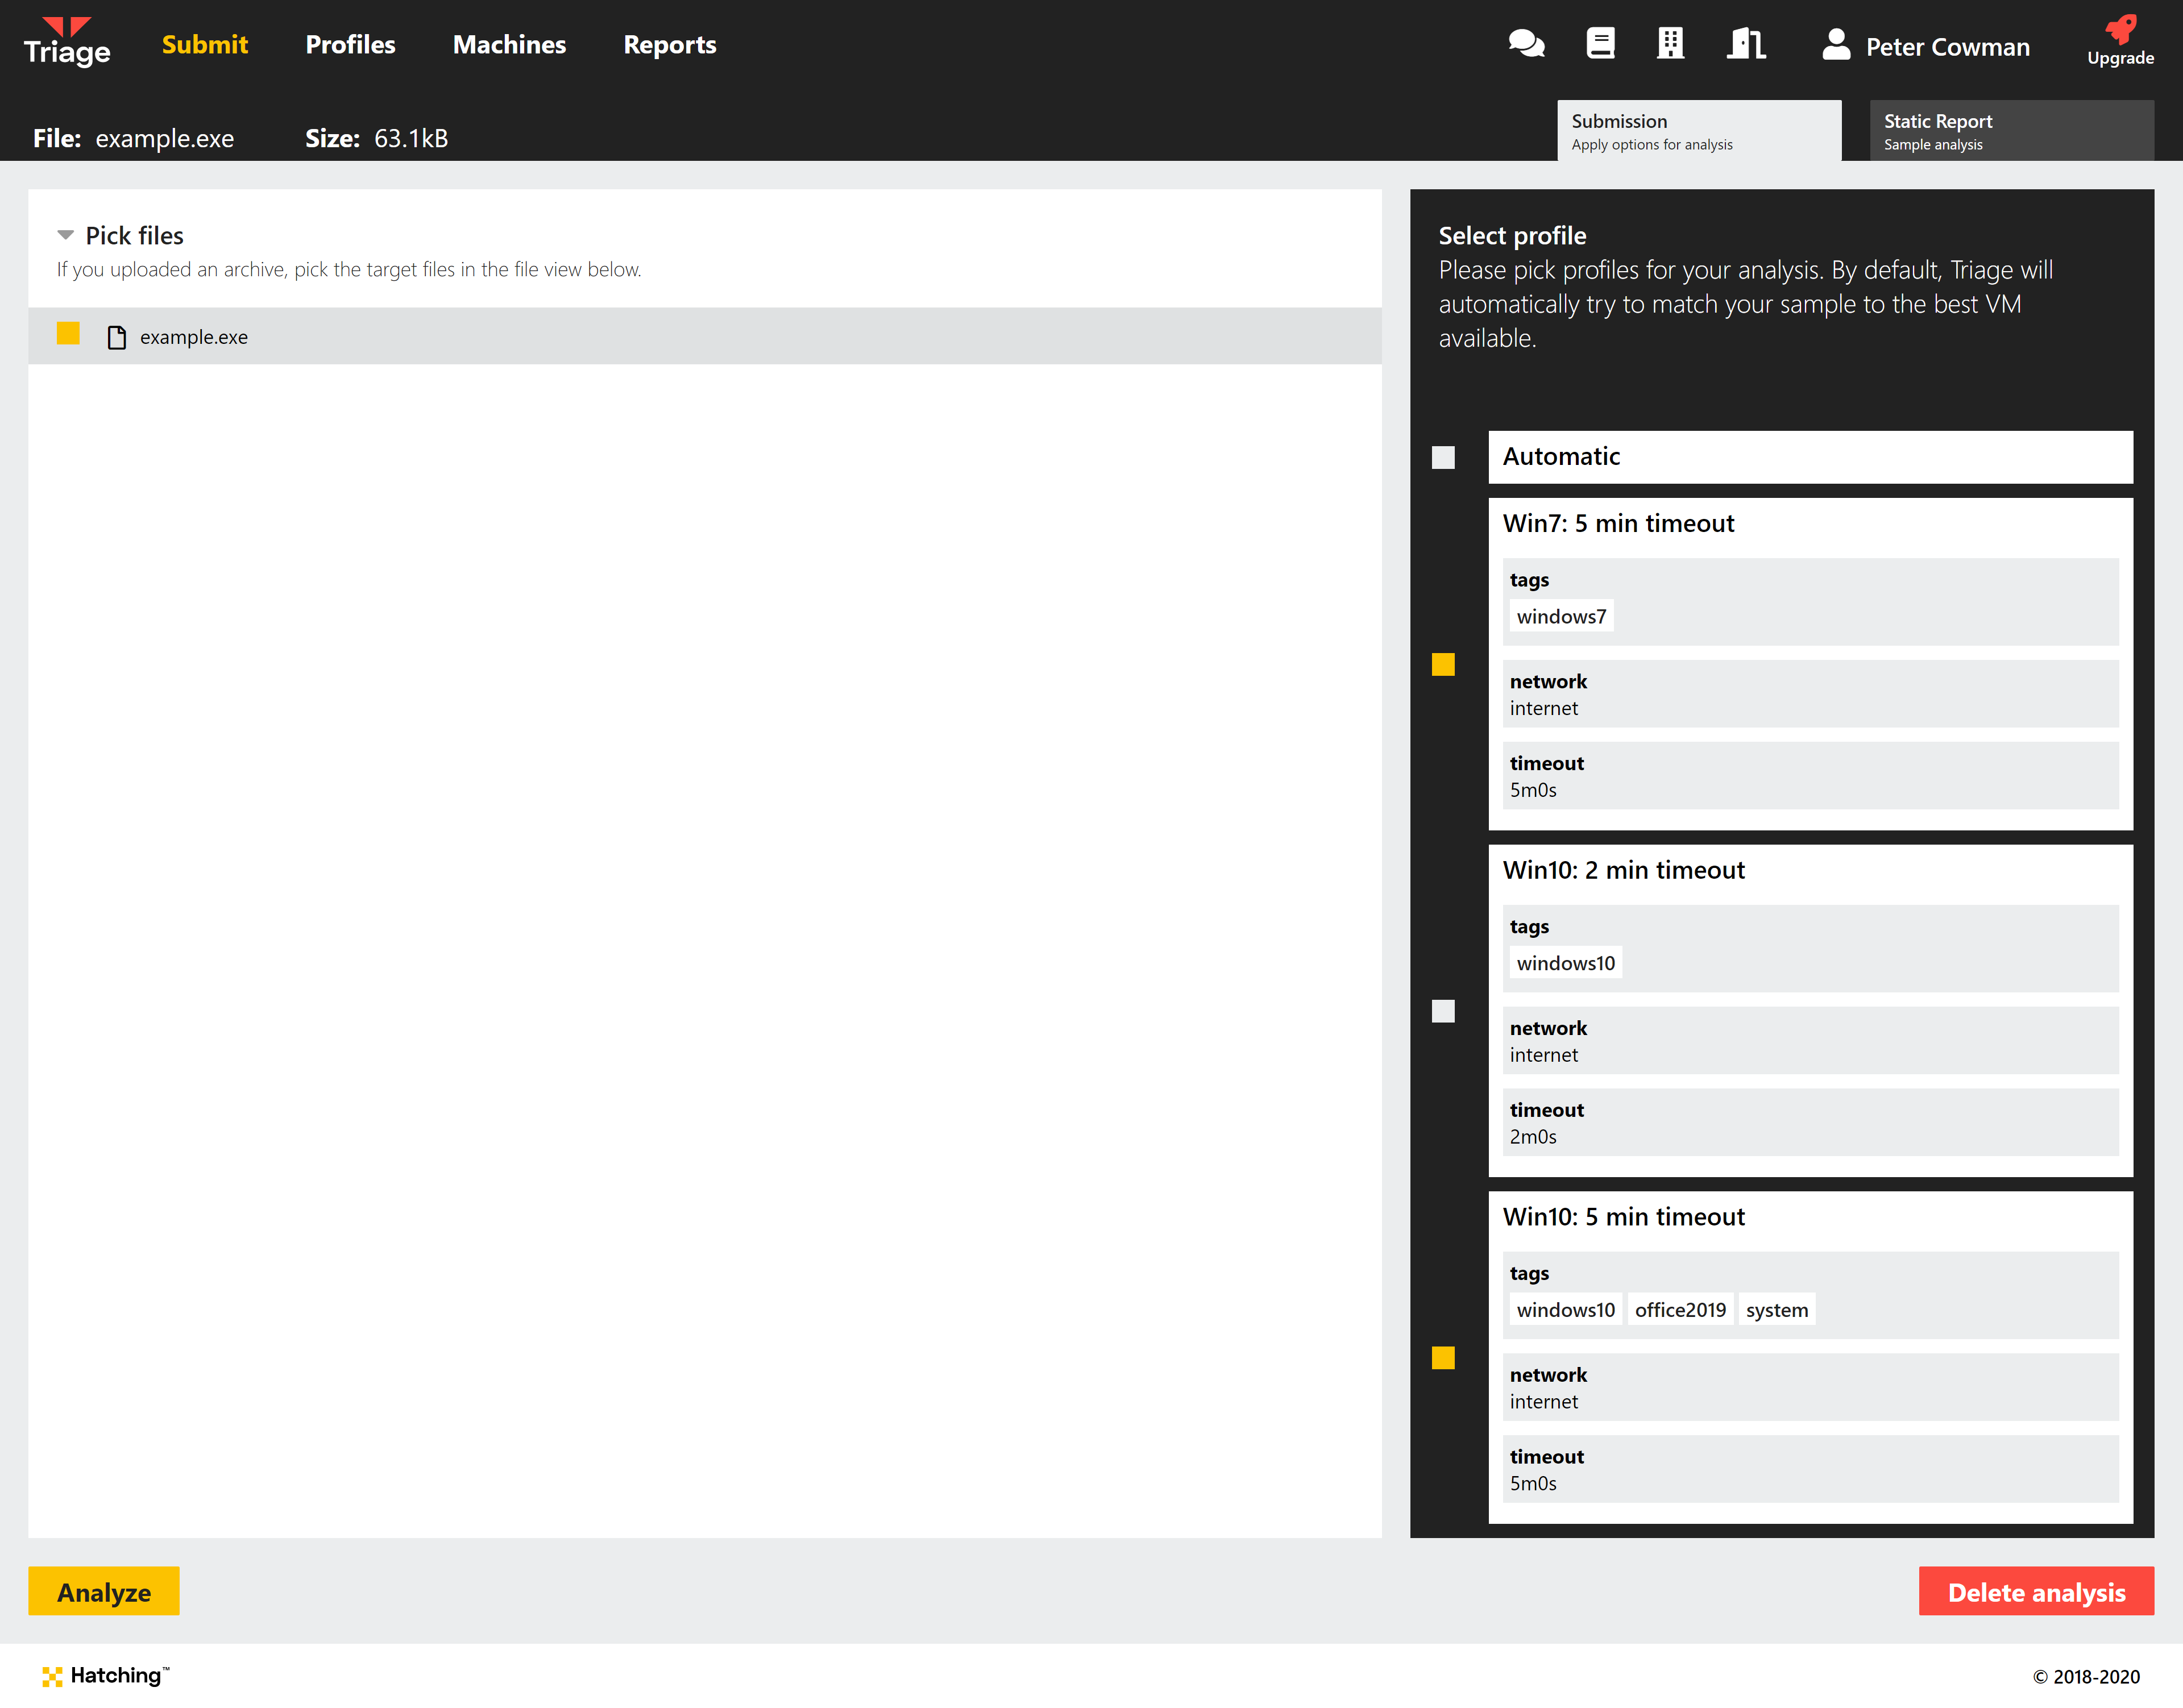
Submitting with a Profile
Selecting a profile for an analysis through the web UI is simple. Any available profiles will be listed after submitting a sample. Multiple profiles can be selected for a single analysis - each will spawn its own task which can be interacted with in the Live Monitor.
You can also choose Profiles when submitting via the API. The documentation for this is available here but we’ll briefly go over an example below.
An array must be added to the JSON data included with the Submit POST request which defines the Profiles to use. This array can include multiple entries, and as with the web UI above will each spawn a task within the analysis.
"profiles": [
  {
    "profile": "PROFILE NAME"
    "pick": "unpack001/something.exe"
  }
],
Note that the pick option is only required for archive file submissions, and should reference the path of the target file within the archive itself. It can be omitted from single-file submissions or set to the string sample.
PROFILE NAME is the name as defined on the Create Profile page.
For example, using curl:
curl -H 'Authorization: Bearer <YOUR_ACCESS_KEY>' \
  -X POST \
  -F 'file=@<SAMPLE_FILE_PATH>' \
  -F '_json={"kind":"file","interactive":false,"profiles":[{"profile":"<PROFILE NAME>"}]}' \
  'https://klaut.staging.hatching.dev/api/v0/samples'
You can also create, modify and delete Profiles directly through the API. For more information on those endpoints check out the official documentation.
Conclusion
We hope this short guide helps you to get the most out of your Triage analyses. If you have any questions about this or other aspects of the platform please feel free to get in touch through the website or on Twitter.
Not signed up yet? Head over to tria.ge to sign up for a free account!